Leaderboard


.thumb.png.ccb60dffda3519a23cf346262127c91d.png)

Popular Content
Showing most liked content since 07/11/25 in all areas
-
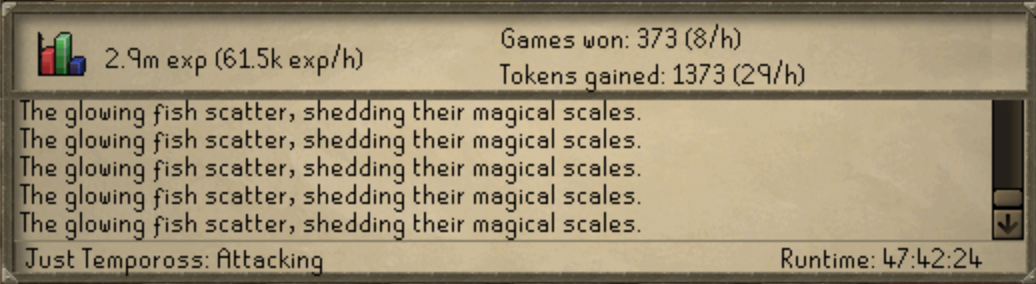
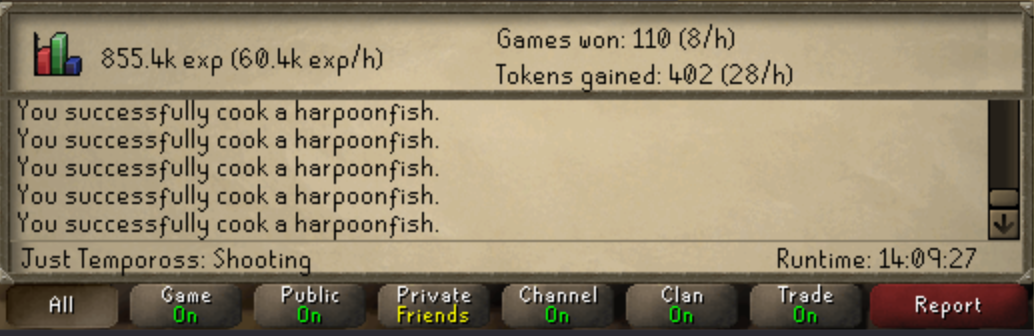
Introduction "Just Tempoross" is a script by @JustJ for the Tempoross minigame. This fishing-based activity requires a minimum Fishing level of 35. This opinion piece aims to help newer botters learn more about the script, providing insights to inform their purchase decision. 🔗Just Tempoross Thread How It Works The "Just Tempoross" script automates key tasks in the Tempoross minigame, including: Catching Fish: Automatically catches fish to contribute to subduing Tempoross. Cooking Fish (Optional): Cooks fish if the user chooses, helping to weaken Tempoross and earn points. Extinguishing Fires: Attempts to put out fires to prevent tool loss, but it’s not very efficient, often failing to act quickly or appropriately. Tool Retrieval: Grabs missing tools (e.g., harpoons, ropes, hammers) from crates as needed. Avoiding Waves: Dodges colossal waves to avoid losing items and points. However, the script has notable limitations: Tribot Echo: The script still needs work for it to run like it does on "X". No Dragon Harpoon Special Attack: The script does not utilize the Dragon Harpoon’s special attack, which could boost fishing efficiency. No reward collection: The script currently does not collect rewards it self. Proggies I’ve been using this script for about a week and a half, running it with both cooking fish and fire extinguishing enabled. Starting with a Fishing level in the 50s, I’m now close to hitting 99 Fishing within the next 24 hours, showcasing significant progress. The script has been run for multiple 24-hour sessions, with the current session exceeding 60 hours, demonstrating its ability to handle long botting periods reliably. However, the experience per hour is a notable drawback, capping at 62k Fishing XP per hour, which is lower than other methods. In terms of rewards, this mini game gives out good rewards and will be helpful to anyone looking to get the pet. Author’s Responsiveness JustJ can be reached through the Tribot Discord or via private messages on the Tribot forums. I’ve contacted JustJ to provide feedback on issues such as adding Dragon Harpoon special attack support. I’m currently awaiting their response and further interaction to fairly assess their responsiveness. Price Evaluation Priced at $3.99, making it affordable compared to other premium scripts ($5–$20). I consider the price a steal, as the script runs good enough to automate the Tempoross minigame effectively, supporting long sessions (up to 60+ hours) and delivering significant Fishing level gains. Ironman Support I have not yet tested the script on an Ironman account, but I believe it should be capable of supporting Ironman players, as the Tempoross minigame is self-sufficient and does not require trading or external resources. The script’s ability to catch fish, retrieve tools, and navigate the minigame should align with Ironman restrictions. I plan to test this in the near future to confirm its compatibility and effectiveness for Ironman accounts, which could make it particularly valuable for players seeking to earn rewards like the Fish Barrel Rating I rate the "Just Tempoross" script 8.5/10, primarily due to its ease in helping me reach 99 Fishing and its reliability in running for long hours (up to 60+ hour sessions). If JustJ addresses concerns in the coming weeks, such as adding support for Tribot Echo or improving fire handling and Dragon Harpoon special attack integration, the rating could increase further.
 2 likes
 -
Having script trials would give customers self-service to determine if a script fits their needs (think about how much you hate using software that doesn't have some sort of self-service). This improves customer experience and reduces support required for scripters to answer basic questions about script functionality. It would also likely reduce refund requests. Trials should be customizable by the script author, they should be able to choose the duration, or even choose to not offer trials at all. Trials should ideally also be locked behind TRiBot VIP. The trial system on the original repository before the Shopify switch worked great and fit all needs.1 like
-
This script works for me on Echo, but its very slow. Exp drops by 20k/hour and I am not getting enough points to earn permits.1 like
-
flawless script thats for sure been using for over 100kc and also if your ever stuck there is always help on the discord. Use script at your own risk just like any script. 10/101 like
-
1 like
-
Banned almost instant1 like